Easy DIY: Turn an Old Insulated Bag into a Handy Storage Box (No Hot Glue Needed!)
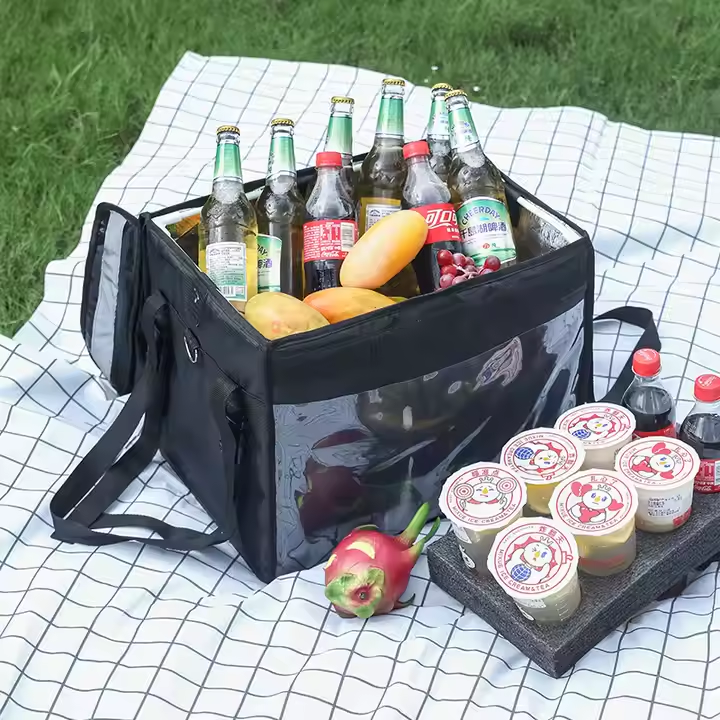
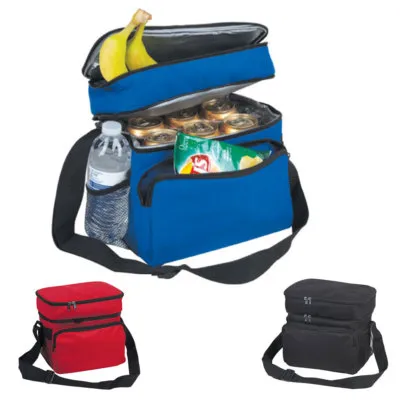
Don’t throw away that old insulated bag. With just scissors and a stapler, you can make a strong, lightweight storage box in 15 minutes.
This guide is made for everyone—even if you don’t have fancy tools.
Especially useful for families in the U.S., Malaysia, and Thailand.
🧰 What You Need (Choose What You Have)
| Tool | USA 🇺🇸 | Malaysia 🇲🇾 | Thailand 🇹🇭 |
|---|---|---|---|
| Scissors | ✅ Yes | ✅ Yes | ✅ Yes |
| Stapler | ✅ Common | ✅ Very common | ✅ Common |
| Hot glue gun | ✅ Optional | ❌ Rare | ❌ Rare |
| Double-sided tape | ❌ Not common | ✅ Yes | ✅ Yes |
| Needle & thread | ❌ Rare | ❌ Rare | ✅ Optional |
| Pen + Ruler | ✅ Yes | ✅ Yes | ✅ Yes |
✂️ Step-by-Step Instructions (No Glue Required)
🖊 Step 1: Draw and Cut Your Shape
- Lay your used insulated bag flat on the table.
- Use scissors to cut off the handles, zippers, or flap.
- Cut down the side seams to fully open it like a big sheet.
- With a pen and ruler, draw a plus-shape (like a cross):
- Center square: bottom of the box (e.g. 20cm × 20cm)
- Four flaps around it: sides of the box (e.g. each 20cm × 10cm)
✂️ Step 2: Cut Out the Cross Shape
- Cut along the outer edges to get the full shape.
- Do not cut between the center and the flaps.
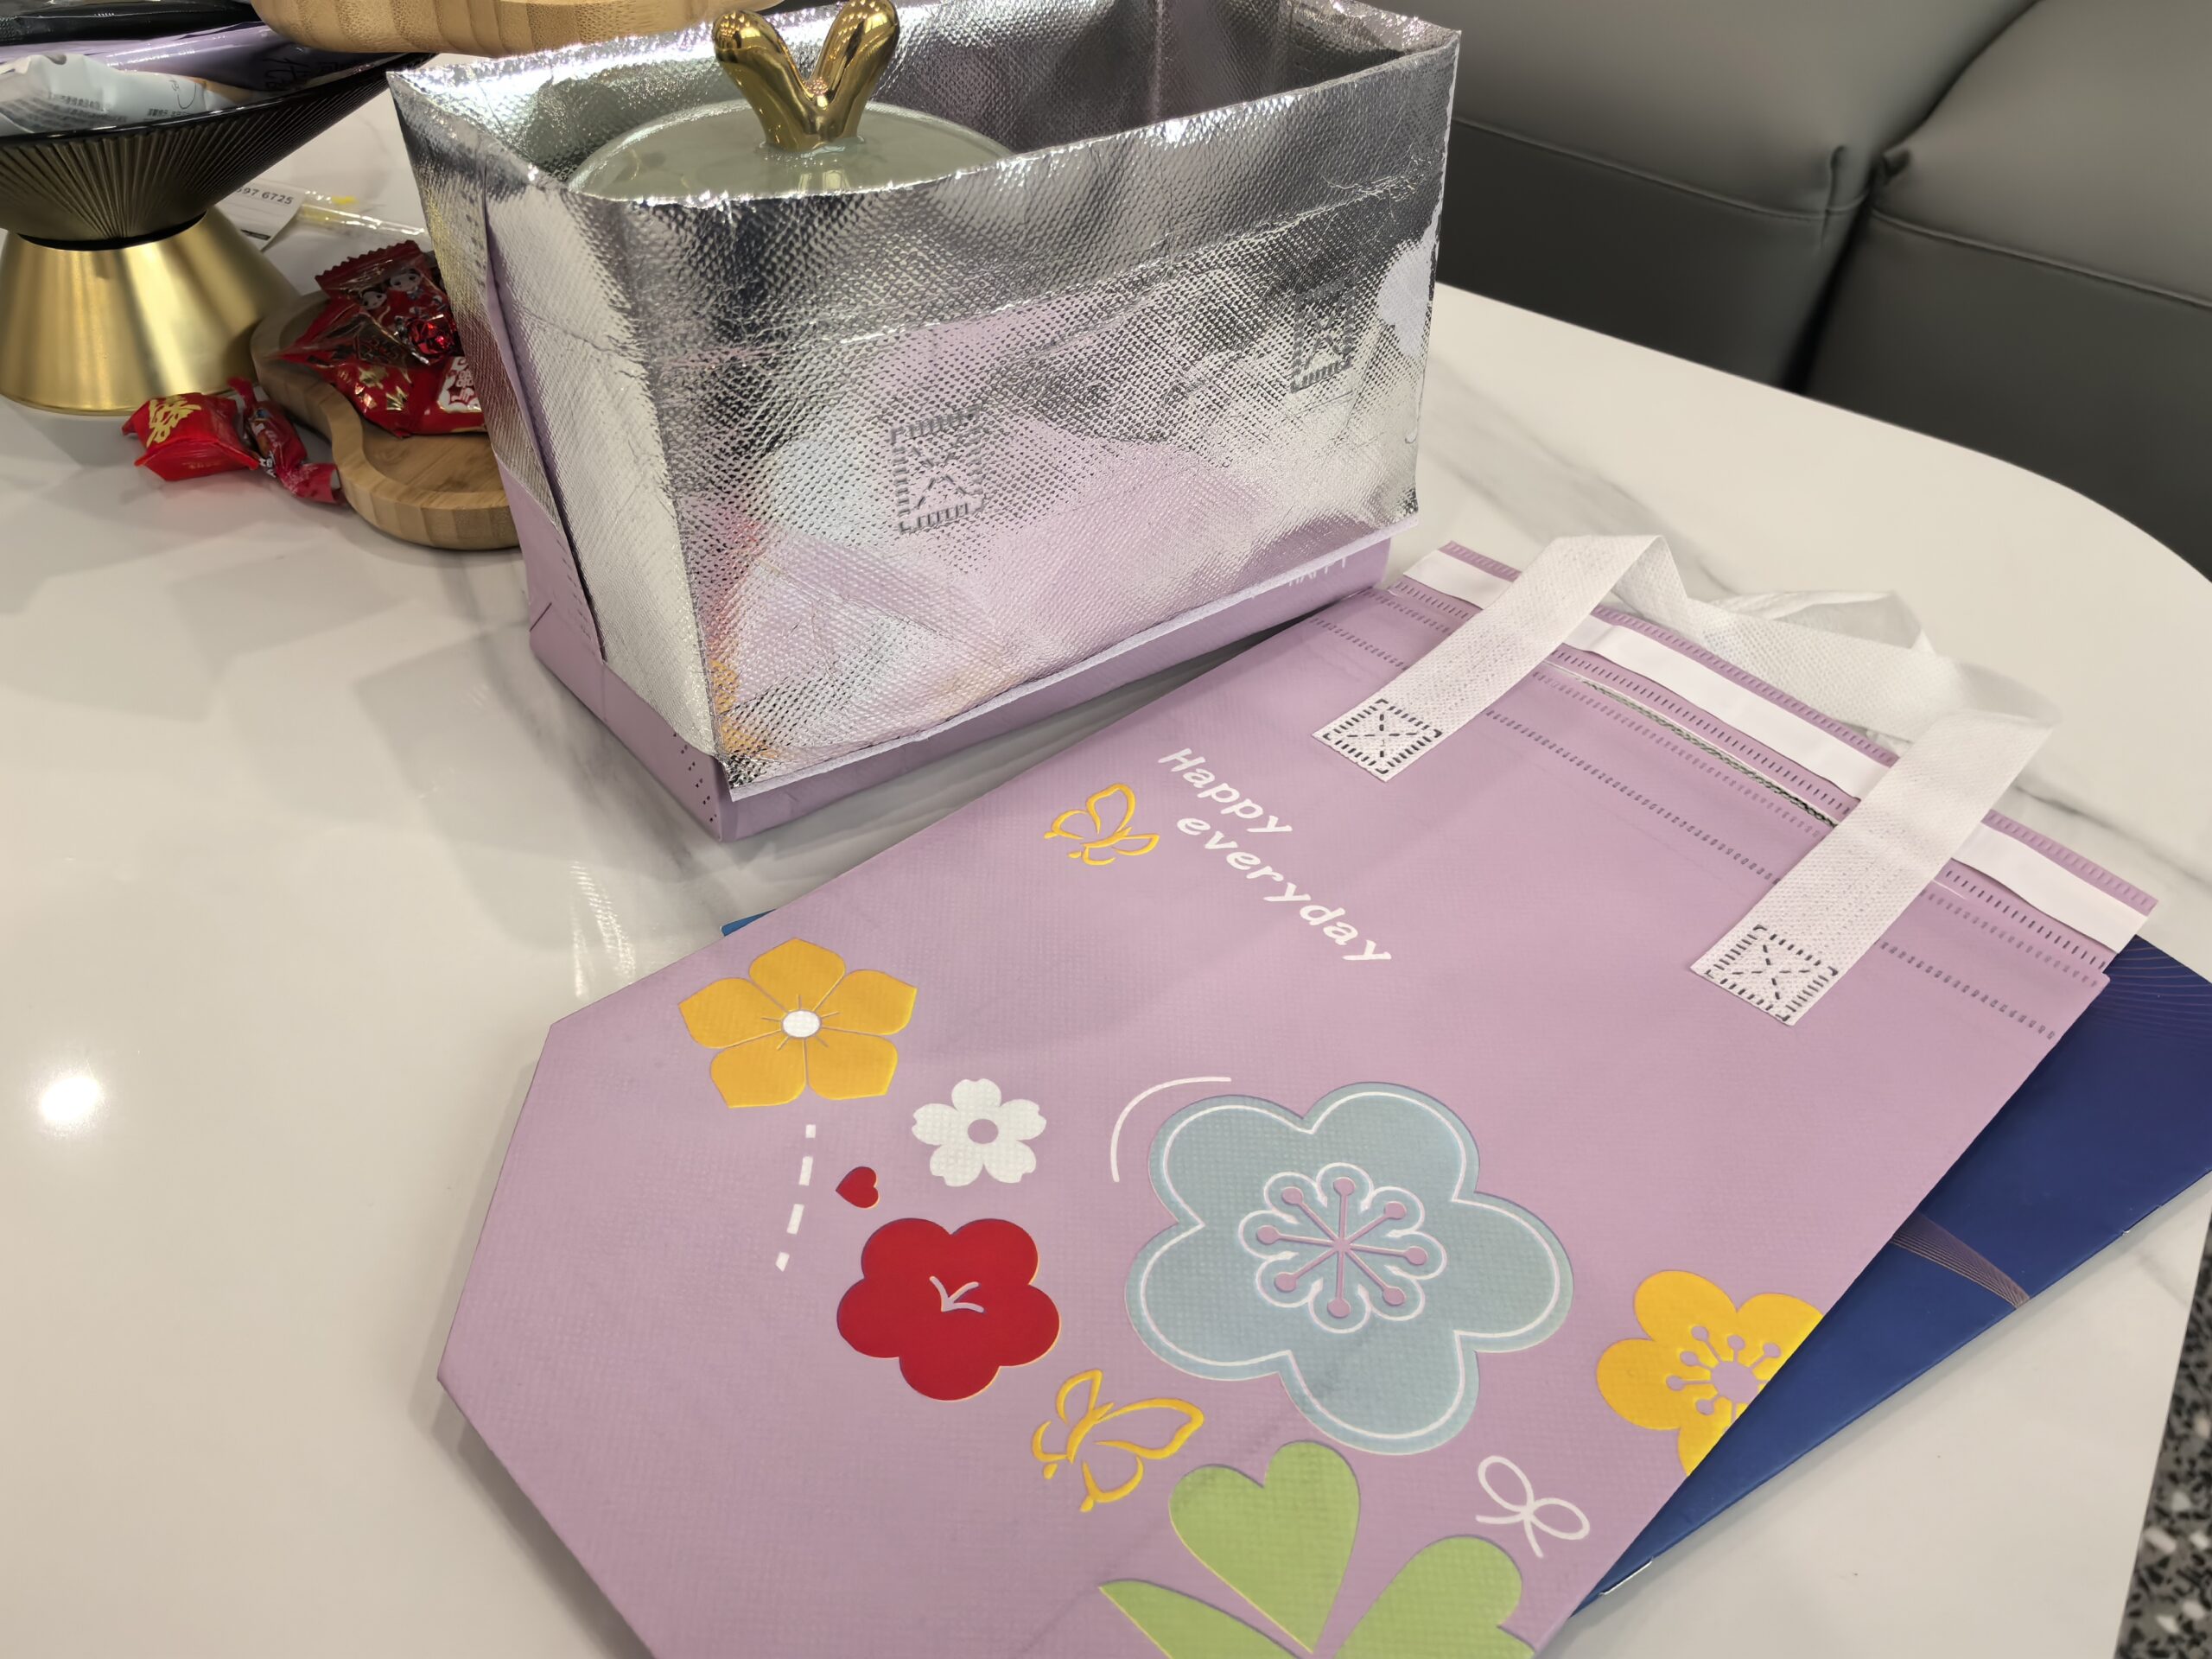
✅ You now have one large piece that will fold into a box.
📦 Step 3: Fold the Sides Up
- Fold each flap up 90° to form the walls of the box.
- Press the folds with your fingers or a ruler to make them sharper.
- The box should now stand, but the corners are still open.
🧠 This is like folding a cardboard pizza box—but easier.
📎 Step 4: Staple the Corners
This is the main holding method. No glue needed!
- Bring two side flaps together at each corner.
- Use your stapler to fasten them.
- 3–4 staples per corner is usually enough.
- Do this for all 4 corners.
🛠 If you don’t have a stapler, you can use:
- Hot glue (USA)
- Double-sided tape (Malaysia / Thailand)
- Needle & thread (Thailand)
🧰 Step 5 (Optional): Add Reinforcement
If you want to make your box stronger or nicer:
- Stick duct tape or fabric tape around the top edges.
- Cut and staple an extra piece of bag into the bottom (double layer).
- Add Velcro or buttons if you want a lid.
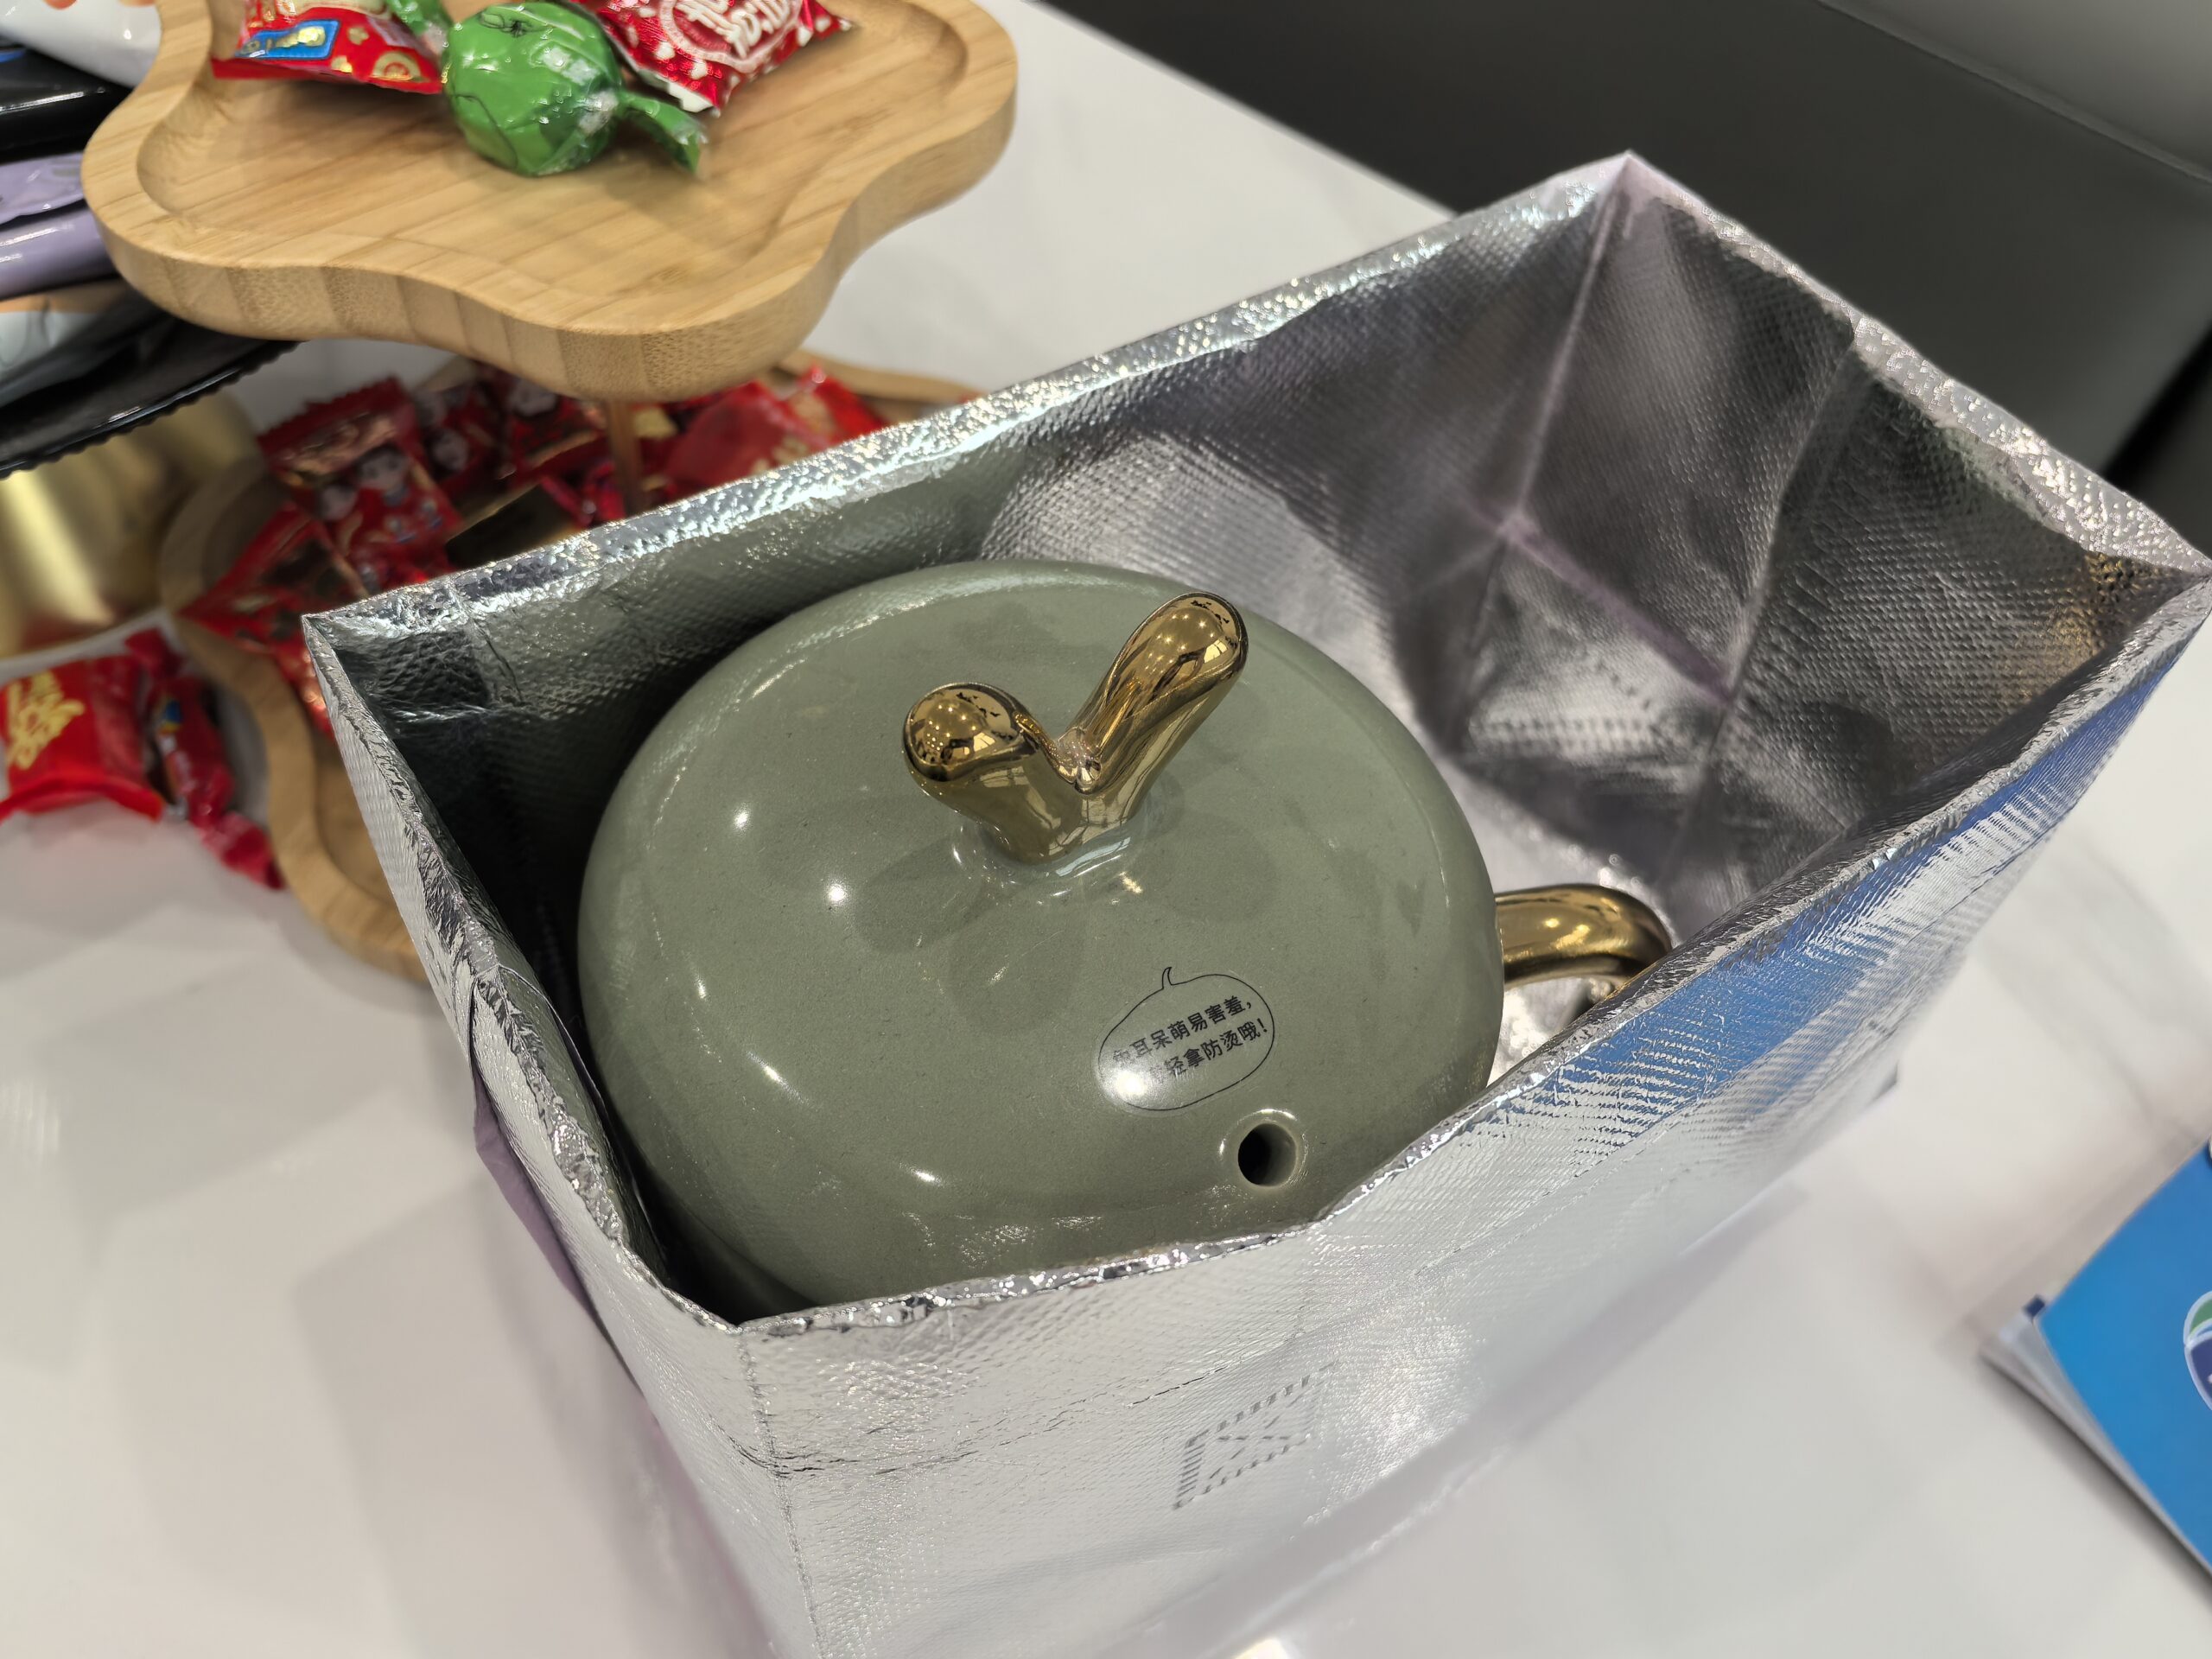
🏁 What Can You Use It For?
| Use Case | Example |
|---|---|
| Kitchen Storage | Tea, snacks, spices |
| Bathroom Organizer | Toiletries, towels, wipes |
| Desk Box | Pens, notebooks, chargers |
| Car Box | Toys, cables, cleaning items |
| Fridge Helper | Store grouped items together |
🎉 Why This Method Works Everywhere
- No need for a glue gun.
- Tools are easy to find in homes or offices.
- Insulated bag material is soft but firm, easy to cut and staple.
- Reuses waste—eco-friendly and cost-free.
✨ Tips for Success
- Keep the cuts straight. Use a ruler or flat book.
- Use strong scissors (kitchen ones are best).
- Let kids help with folding (not stapling).
- Use color-coded bags to organize different rooms.
✅ Final Words
Now you’ve got a smart way to reuse old bags and reduce waste.
One stapler, one pair of scissors, and you’ve made something useful.
Ready to try your own?
Learn more about how our insulated bags are made — click here.
https://www.youtube.com/@JR-PAK