How to Screen Print on Cooler Bags: Step-by-Step Guide
Custom printing adds life to any cooler bag.
Whether it’s a brand logo, a restaurant name, or a fun message, printing turns a plain bag into a marketing tool.
But cooler bags are not like T-shirts.
They have layers, insulation, and special coatings.
So how do factories print on them clearly and cleanly?
Let’s explore how screen printing works on these unique bags.
🧵 What Is Screen Printing?
Screen printing is a method that pushes ink through a mesh screen onto a surface.
It’s like using a stencil, but with fine detail and bold color.
This method works well on flat areas.
It’s long-lasting, color-rich, and great for mass production.
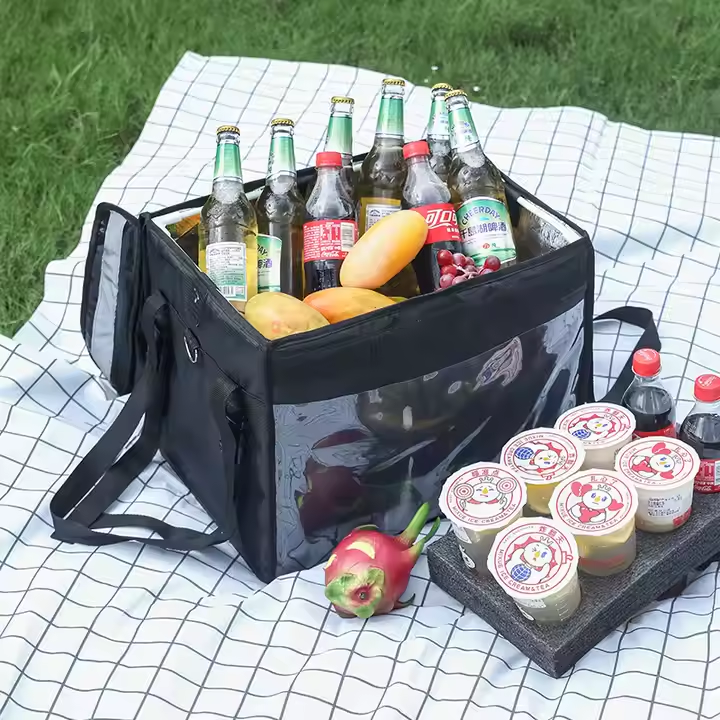
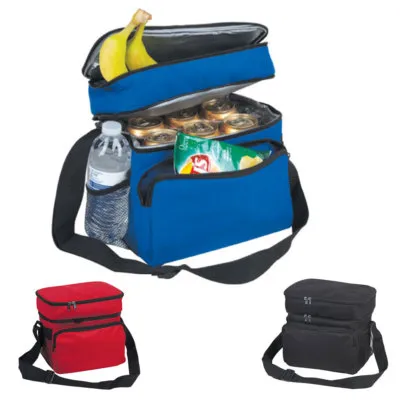
🧊 Why Cooler Bags Need Special Care
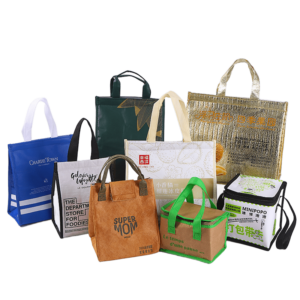
Cooler bags are made from materials like:
- Aluminum foil
- Pearl cotton
- Laminated non-woven or woven fabric
These layers help keep temperature inside. But they also make the surface:
- Slippery
- Heat-sensitive
- Uneven
So screen printing on cooler bags must be done carefully.
🧺 Imagine trying to paint on a lunchbox instead of a notebook — it takes prep and patience.
🛠️ Tools and Materials Needed
- Flatbed screen printing machine
- Custom screen frame (with logo or design)
- Heat-resistant ink (PU or PVC-based)
- Squeegee
- Adhesive spray (to keep bags in place)
- Drying rack or tunnel dryer
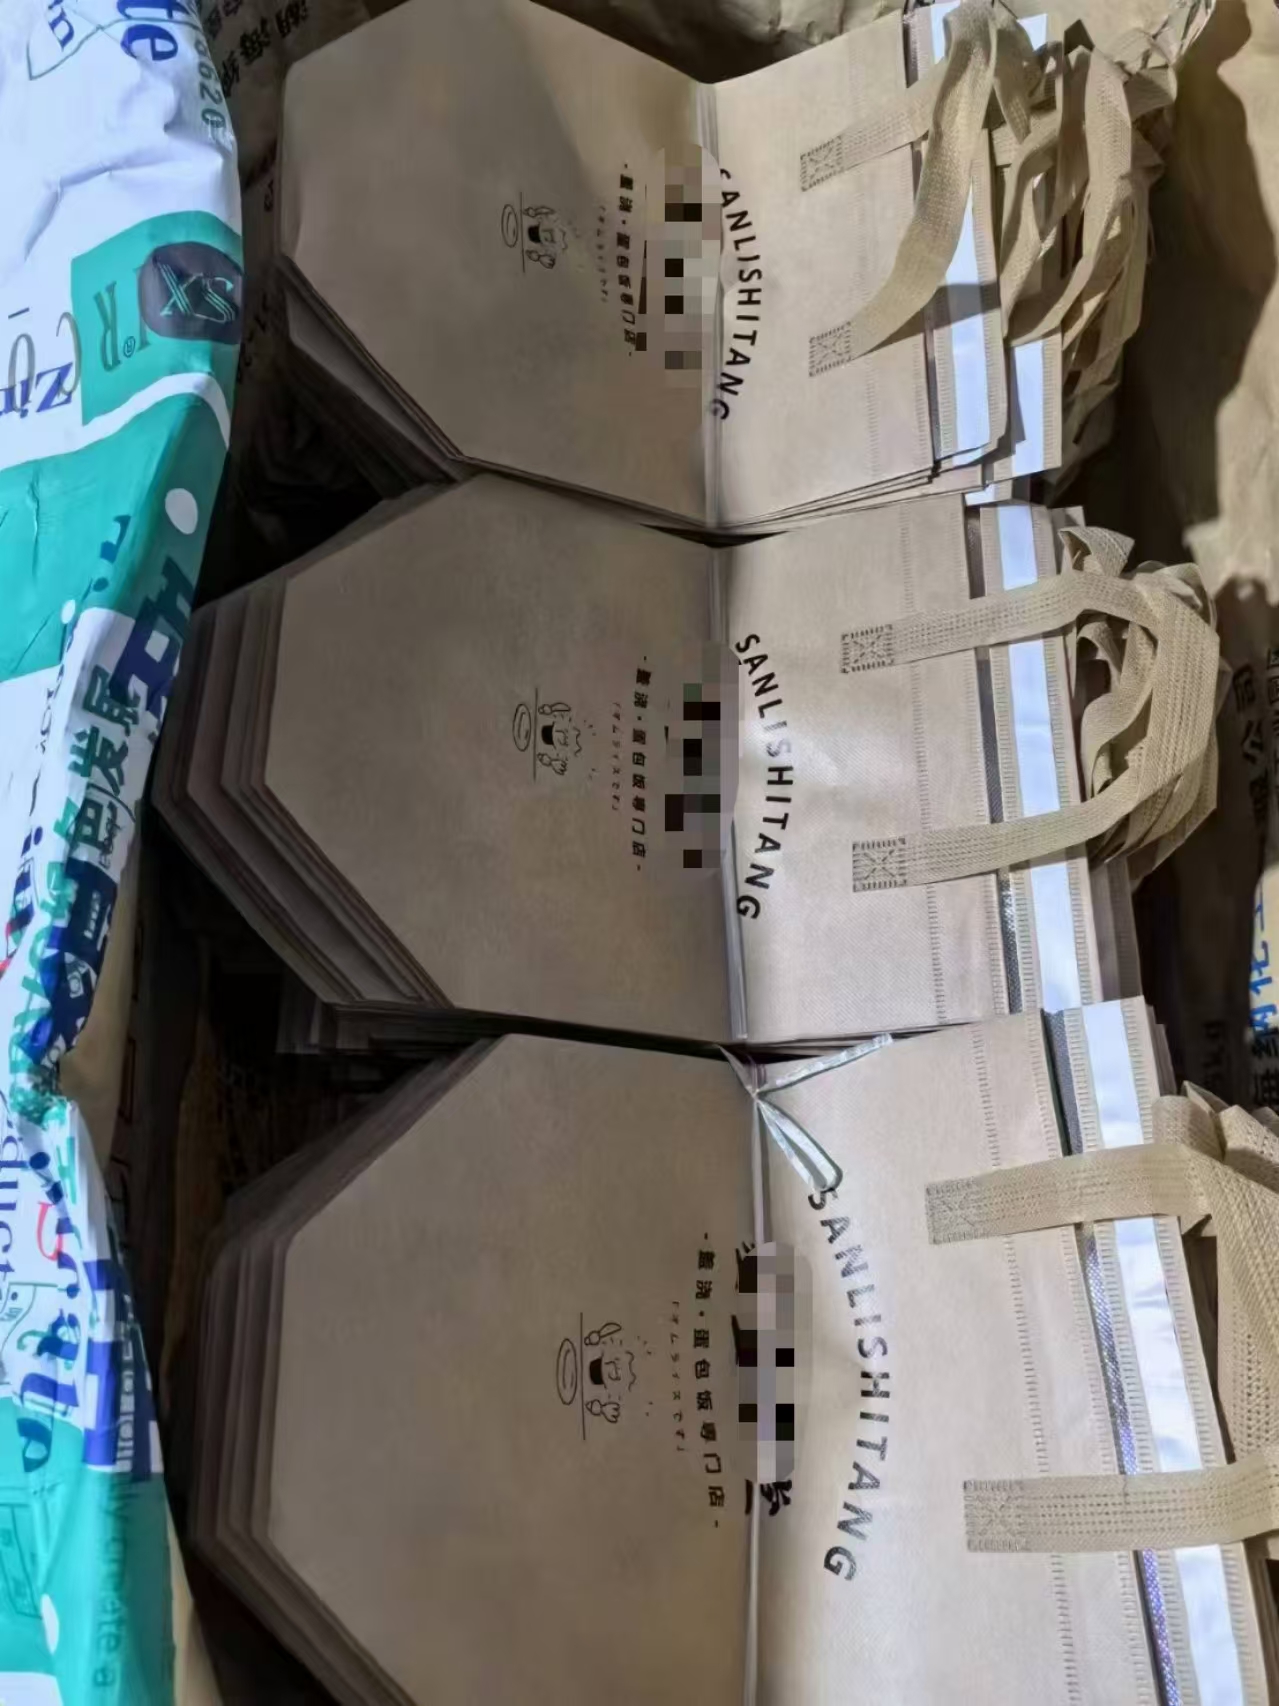
🧾 Step-by-Step Screen Printing Process
1. Prepare the Artwork
Start with a clean vector file (AI or PDF).
Keep it simple.
Too much detail can get lost in printing.
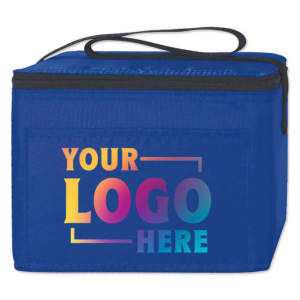
🧠 Tip: Bold logos with solid shapes work best on insulated surfaces.
2. Create the Screen
The artwork is transferred onto a mesh screen using photo emulsion.
This screen works like a stencil.
Each color needs one screen.
So multi-color prints require multiple layers.
3. Fix the Cooler Bag on the Table
Cooler bags can shift during printing.
To avoid smudging, factories spray a light adhesive on the printing table.
This keeps the bag in place during ink transfer.
4. Apply the Ink
Place the screen over the bag.
Pull the squeegee across it to press ink through the mesh onto the surface.
This step might need repeating if the fabric is absorbent or laminated.
🎨 It’s like buttering toast evenly — too light and it fades, too heavy and it smears.
5. Drying the Ink
Once printed, the ink needs to dry completely.
Cooler bags can't handle high heat, so drying must be gentle and slow.
Options include:
- Air drying (for small batches)
- Low-temp tunnel dryers (for larger orders)
6. Quality Check
Inspect each print for:
- Smudging
- Color bleed
- Misalignment
If needed, touch-up ink can be added by hand or re-run on the machine.
📦 Pros and Cons of Screen Printing on Cooler Bags
✅ Advantages:
- Long-lasting ink
- Bold, solid colors
- Cost-effective for large runs
- Suitable for logos and simple graphics
⚠️ Limitations:
- Not ideal for photo images or gradients
- Limited print area (flat surface only)
- Requires drying time
💼 Why It Matters for Brands
A branded cooler bag is more than packaging.
It’s like a walking billboard.
Every customer who carries your bag spreads your name for free.
For restaurants, food delivery, events, or supermarkets,
screen printing helps build brand recall—especially when the design is sharp and clean.
🎯 Final Thoughts
Screen printing is not the only method for printing on cooler bags.
But it remains the most trusted for simple, high-volume jobs.
Like a stamp on a passport, your logo deserves to last.
With the right technique, even insulated bags can carry your brand beautifully—bag after bag, trip after trip.
Need custom printed cooler bags for your brand?
JiaRong Packaging offers full design and screen printing services,
with quality checks and professional support.
👉 Visit https://zjjrpackaging.com to get started.
📧 Contact: Effie | [email protected]